Dialogue-led product spots
Write the line into the prompt and MiniMax H3 Max delivers the mouth, the voice, and the room tone in one render — no separate voice-over pass.
Write one line or drop a single still frame. MiniMax H3 Max hands back a 5–15 second clip with the audio already synced — watch it, change a word, run the next take.
Production preview
Six unedited MiniMax H3 Max takes, text to video and image to video, each with the exact prompt behind it. Copy the shape, change the subject.
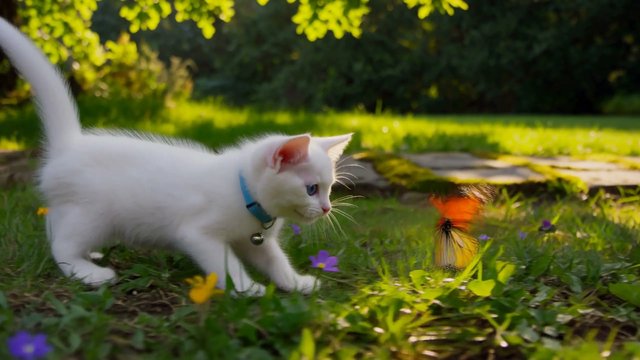
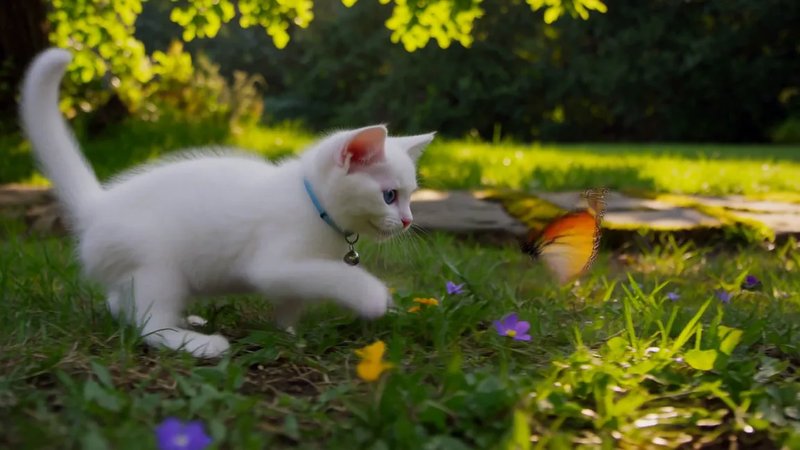
"A white kitten chases a butterfly across a sunlit garden. Gentle camera tracking, natural movement, soft afternoon light filtering through the leaves." The sentence carried a subject, a camera move, and a light source — H3 Max staged everything else.
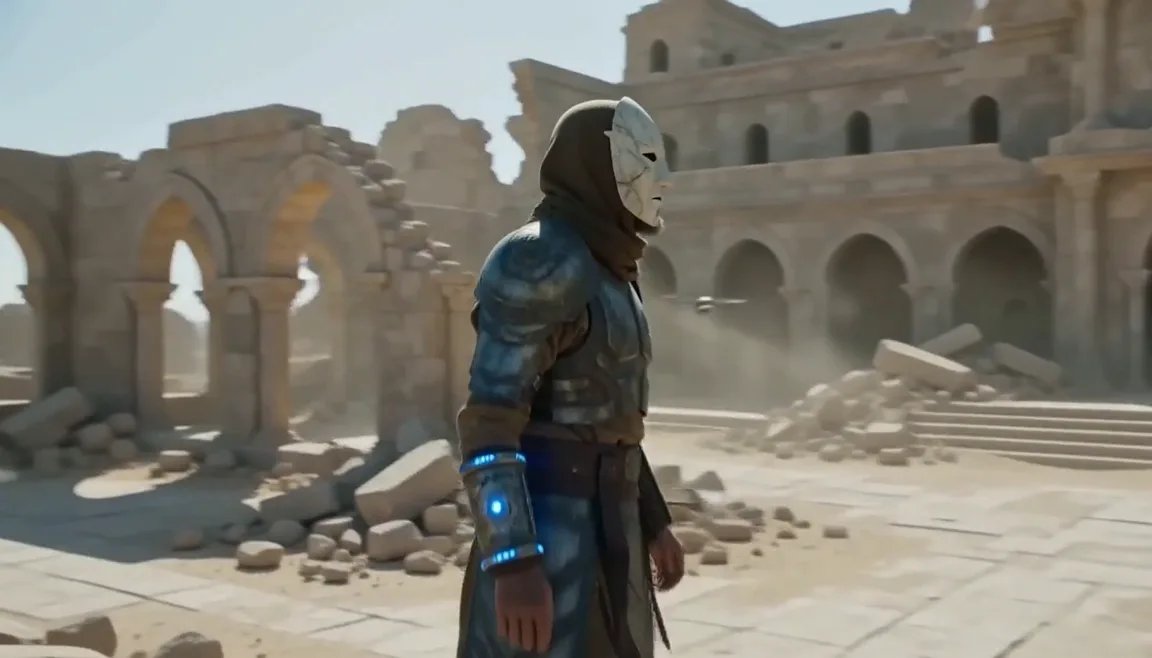
A prompt can carry timing, not just subject. This one blocks 0–4s of a warrior-monk crossing a ruined monastery while survey drones sweep the cliffs above, and the beats land where the prompt put them.
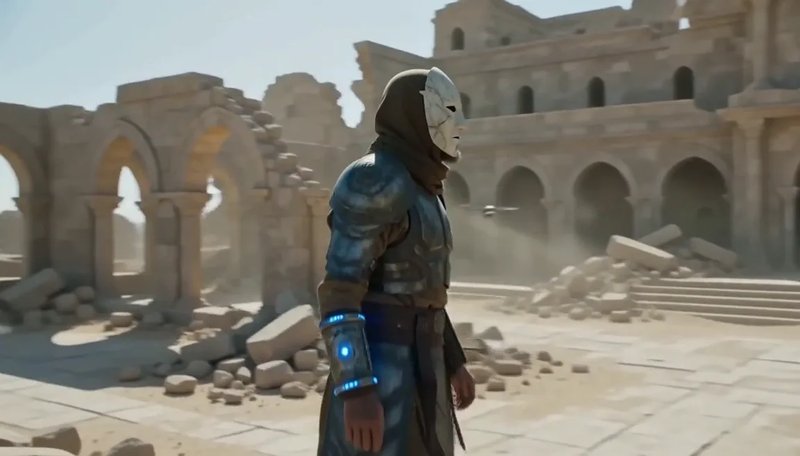
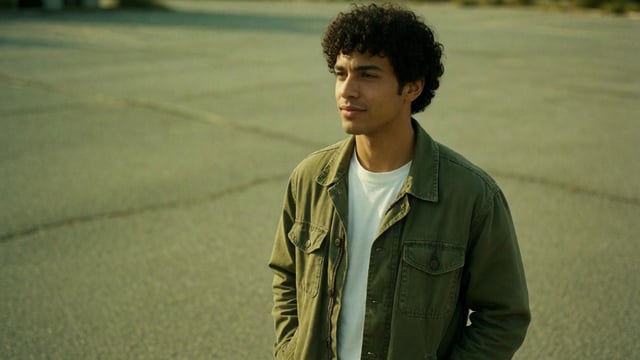
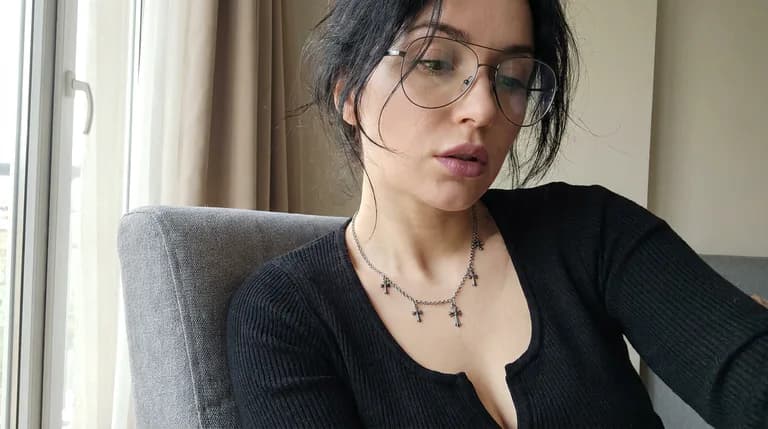
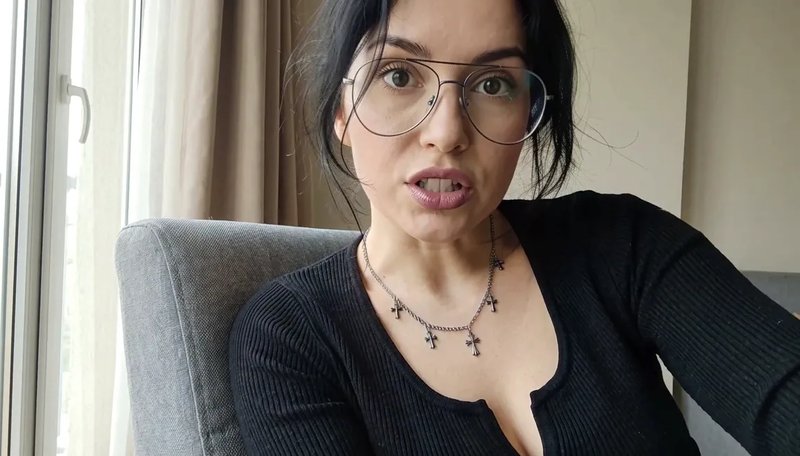
Image to video starts from one frame you supply. Hand the portrait a line of dialogue and H3 Max speaks it — the audio arrives synced, not layered on afterwards.
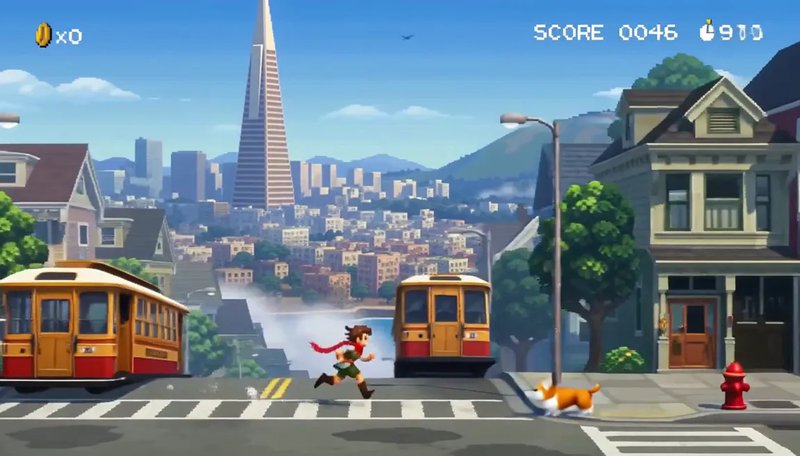
"Create a pixel-art side-scrolling platformer gameplay animation, presented as authentic 16-bit / 32-bit retro game footage." The prompt asked for a San Francisco endless runner with jump and duck, a SCORE HUD, and chiptune. H3 Max held the sprite, the parallax, and the soundtrack in one pass.
"Stop-motion claymation: a round green frog in a knitted scarf carries a stack of pancakes across a tiny kitchen set, sets it down, then looks at camera and blinks." The prompt called for fingerprints in the clay, felt walls, 12fps stepped motion, and clay squeaks. H3 Max kept the stepped cadence and the sound in the same pass.

"Slow-motion close-up of a hummingbird hovering at a red trumpet flower in a sunlit garden, wings a blur, tongue flicking into the bloom." Golden-hour backlight, pollen in the air, one bruised petal. H3 Max held the long-lens bokeh and the rapid wing hum together.

The homepage shows finished takes. This guide shows how to write the prompt — and which layer to change when the clip is wrong.
Learn when to describe a camera move and when to choose a preset for your starting image.
Explore live direction through scene ideas, evolving prompts, and the questions to ask before planning a session.
MiniMax H3 Max is a video model that turns a written prompt, a single start frame, or a reference set — up to nine images, three clips, and three audio files — into a 5 to 15 second clip that already carries synced audio. It is a tuned build of MiniMax H3, the family MiniMax created for commercial video work: ads, brand films, product spots, UI motion, and game cinematics. In August 2026 evaluations by Artificial Analysis and Design Arena, the tuned build placed first for overall quality, prompt understanding, and aesthetics, and took the top spot on Design Arena's image-to-video board. Choose 480P, 768P or 1080P: a 5-second take costs 50, 100 or 175 credits.
Whole seconds, 5 by default — long enough to carry a beat, short enough to iterate on.
21:9 down to 9:16 for text to video. Image to video simply inherits your start frame.
768P lands at 1344×768, 24 FPS. Iterate at 480P, then re-run the winner at 768P.
Every H3 Max clip renders with sound in place, and MiniMax lists dialogue as stable in 11 languages.
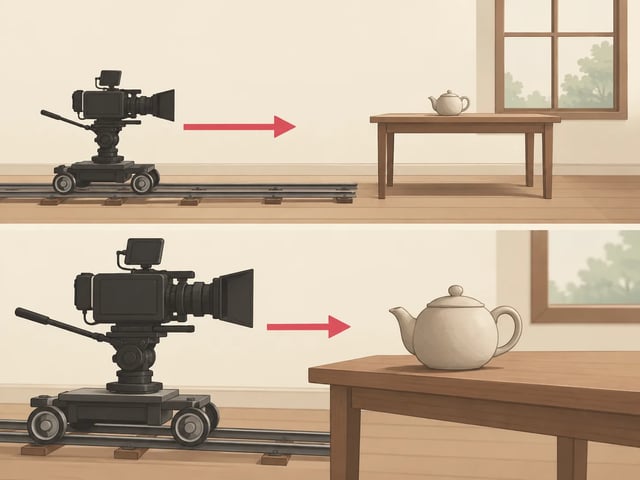
Pin where the shot opens, and optionally where it lands — the motion between is filled in.
MiniMax highlights text and brand rendering, so signs, labels, and logos hold their shape.
One sentence will do — or upload a start frame, plus an end frame if you want to pin the landing.
Choose 5 to 15 seconds, 480P, 768P or 1080P, and one of six aspect ratios — 480P bills 10 credits a second, 768P bills 20 and 1080P bills 35, so a 5-second draft is 50.
The clip comes back with audio in place. Keep it, or change one word and generate again.
Jobs where the finished clip needs to speak, hold brand type, and survive a client review.
Write the line into the prompt and MiniMax H3 Max delivers the mouth, the voice, and the room tone in one render — no separate voice-over pass.
Run the same 15-second spot with dialogue in Japanese, German, or Portuguese; all eleven are listed as stable, so one storyboard covers every market.
Draft the end-card at 480P, then re-render only the winner at 1344×768 — H3 Max keeps lettering readable where earlier models smeared it.
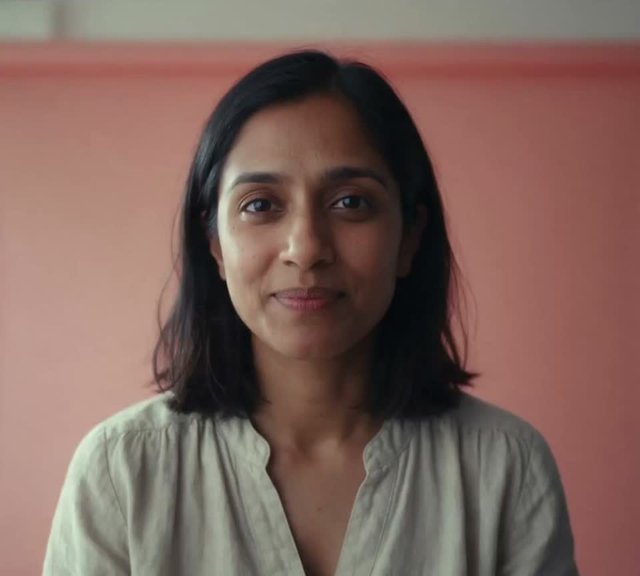
Upload a single headshot as the start frame and get a 5–15 second spoken intro for a landing page or onboarding screen.
Pin the concept art as the first frame and, optionally, the final pose as the last; H3 Max stages the motion and score between them.
Choose 9:16 in text to video and the clip arrives already cropped and voiced for the feed — no reframing in an editor.
Same family, different tuning — figures from Design Arena, August 2026.
| On H3 MaxMiniMax H3 MaxThe tuned build, and what this site runsGenerate | MiniMax H3The base model | |
|---|---|---|
| Tuning | Tuned for prompt adherence and aesthetics | Baseline |
| Design Arena image-to-video Elo (Aug 2026) | 1,341 — ranked #1 | 1,333 |
| Speed at matched quality (Design Arena) | 50×+ the base model | Baseline |
The generator on this page makes a 5–15 second take. These pages go deeper on the prompt, on live direction, on MiniMax H3 family lanes, and on MiniMax H3 Max vs Veo 3.1.
A useful prompt decides four things: who is doing what, how the camera looks at it, when it happens inside the clip, and what we should hear. Mood words skip those decisions.
The H3 Max prompt guide walks through that structure with rewrites and clips, then tells you which layer to change when the take is wrong.
H3 Max Director is live direction of a continuing scene: you set a premise, watch it unfold, and send the next event without starting a new clip. That is a different job from a 5–15 second take on this generator.
The H3 Max Director page explains that workflow through three imagined sequences, the controls that matter when you plan a session, and what this site actually runs today.
MiniMax H3, MiniMax H3 Max, and MiniMax H3 Max Turbo are not three labels for the same model. H3 keeps 2K and reference files. H3 Max is the fast keeper lane on this site. Turbo is the cheaper draft lane.
The comparison page puts those jobs side by side so you pick a lane before you spend a take. This generator runs Max and Turbo; it does not run official MiniMax H3.
Clip length, output size, and reference files decide this pick more than a ranking. MiniMax H3 Max on this site runs 5 to 15 seconds at 480P, 768P, or 1080P, and takes reference clips and audio. Veo 3.1's published docs list 4, 6, or 8 seconds, 720p to 4K, and up to three stills.
Open the comparison when the job is a cross-vendor choice, not a MiniMax family lane.
Pick a path from what you already have.
One guide for a single prompt, one for a continuing scene.
H3, H3 Max, and Turbo side by side — or MiniMax H3 Max vs Veo 3.1 when the other model is outside the family.
Every MiniMax H3 Max render is billed per second of finished video — 10 credits at 480P, 20 at 768P, 35 at 1080P — and monthly plans top up the balance.
Enjoy Limited-Time 30% OFF!
Signing up grants 25 credits and a 5-second 480P take on MiniMax H3 Max Turbo costs 25, so your first Turbo draft is covered. It stops there: Turbo at 768P is 40 credits and the non-Turbo MiniMax H3 Max at 480P is 50, so the version you keep needs a plan — $19.90 a month loads 1,000 credits.
H3 Max is a tuned build of MiniMax H3 with stronger prompt adherence and better aesthetics. In Design Arena's August 2026 image-to-video rankings it scored Elo 1,341 to the base model's 1,333, taking the top slot.
Each second costs 10 credits at 480P, 20 at 768P or 35 at 1080P. A 5-second take costs 50, 100 or 175 credits; at 15 seconds, 768P costs 300 and 1080P costs 525. Plans start at $19.90 a month for 1,000 credits.
Yes. MiniMax H3 Max generates picture, sound effects, and spoken lines in the same pass, so lip sync is native rather than dubbed on afterwards. MiniMax lists dialogue as stable in 11 languages.
August 2026 benchmarks timed a 5-second 768P MiniMax H3 Max clip at under 3 seconds of model time. At busy hours the queue adds time on top, so treat it as a working pace, not a guarantee.
480P (default), 768P or 1080P. 768P renders at 1344×768 and 24 FPS. MiniMax's hosted base model offers 2K; this generator does not.
The start frame is required and an optional end frame pins where the shot lands. MiniMax H3 Max keeps your still's aspect ratio; the prompt steers motion, camera, and dialogue.
Whole-second lengths from 5 to 15, with 5 as the default, and six frames: 21:9, 16:9, 4:3, 1:1, 3:4, and 9:16. 16:9 is the default.
You do, on a paid plan, commercial use included. Clearing third-party rights in your prompt — trademarks, likenesses, copyrighted characters — is on you.
The base model is: MiniMax published H3-Base weights under the MiniMax H3 Community License, not Apache or MIT. The MiniMax H3 Max tuned build this site runs is hosted only, no public weights.
480P to find the shot, 768P for the one you keep — both come back with sound in place.